


Patching and Repairing Drywall Holes
Discover the best tips for patching and repairing drywall holes with this comprehensive DIY guide. Learn how to fix dents, large holes, and more!
Patching Holes and Cracks: Easy Fixes for Damaged Drywall and Sheetrock
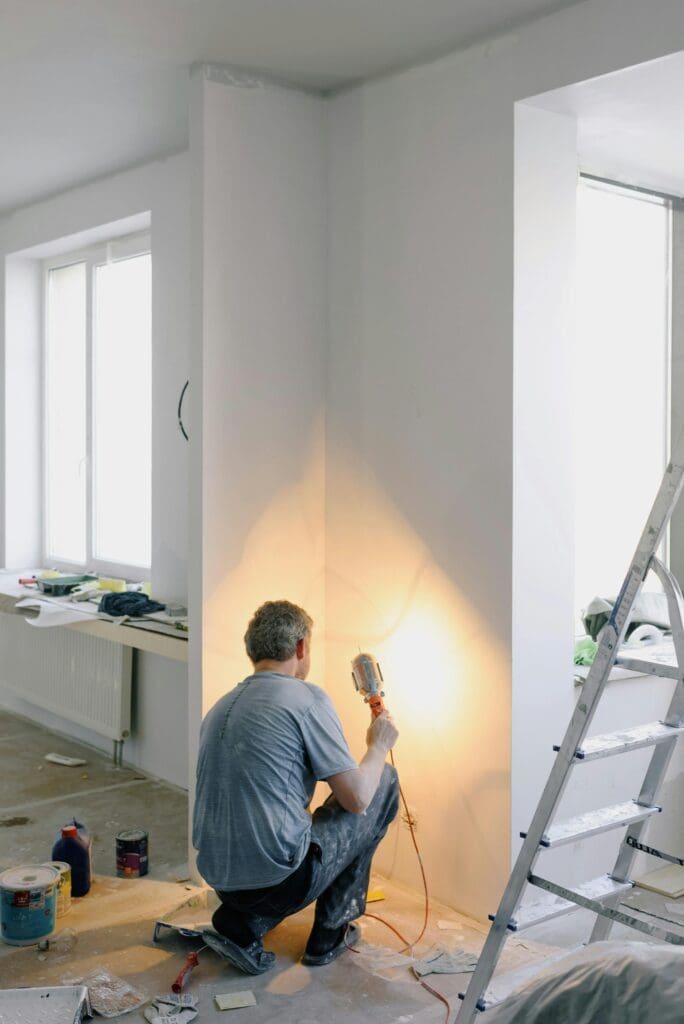
At Aboveboard Home Services, we understand the frustration that comes with sheetrock damage. Whether it’s a small hole from a misplaced nail or a larger crack from structural settling, these imperfections can detract from the beauty of your home. But fear not, because we’re here to provide you with easy fixes to patch up those unsightly blemishes and restore your walls to their former glory.
Identifying the Drywall Damage
The first step in repairing sheetrock damage is to properly identify the type and extent of the damage. Small nail holes are relatively easy to fix, requiring minimal materials and expertise. However, larger cracks or holes may indicate more significant structural issues that need to be addressed by a professional. Take the time to thoroughly inspect the damaged area before proceeding with any repairs. Do not hesitate to contact Aboveboard Home Services for a free consultation.
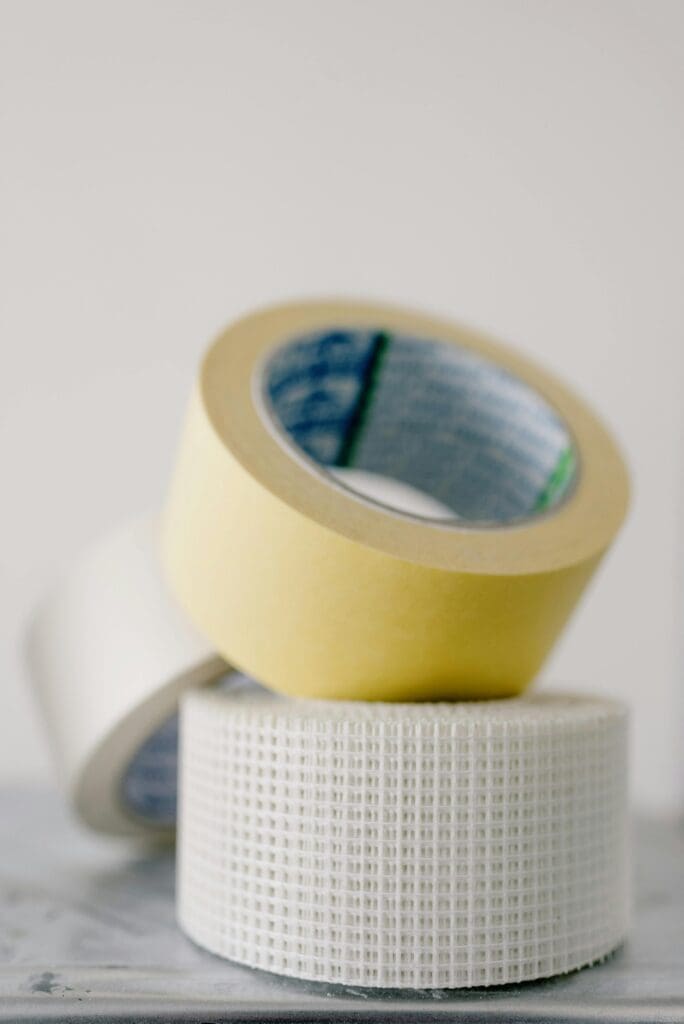
Gathering Materials Needed for Cracks in Drywall
Once you’ve identified the type of damage, it’s time to gather the necessary materials for the job. For small nail holes, all you’ll need is some spackle or joint compound and a putty knife. Larger cracks or holes may require additional supplies such as drywall tape, a utility knife, and sandpaper. Make sure you have everything you need before starting the repair process to avoid unnecessary delays.
Preparing the Surface
Before applying any patching material, it’s essential to prepare the damaged area properly. Use a putty knife to remove any loose debris or old patching material from the hole or crack. Clean the surface with a damp cloth to ensure good adhesion for the new patch. If the damage is near a corner or edge, consider using drywall tape to reinforce the repair and prevent future cracking.
Using the Right Type and, How to Apply, Joint Compound.
When it comes to drywall repair, it’s essential to use the right type of joint compound for the job. Whether you’re working on patching a hole in drywall, fixing a popped nail head, or repairing larger holes in the wall, choosing the correct compound can make all the difference in the final result. To patch a hole in drywall, start by cutting a piece of drywall to fit the damaged area. Secure the new drywall with drywall screws to the wall studs, making sure it is flush with the surface of the existing drywall.
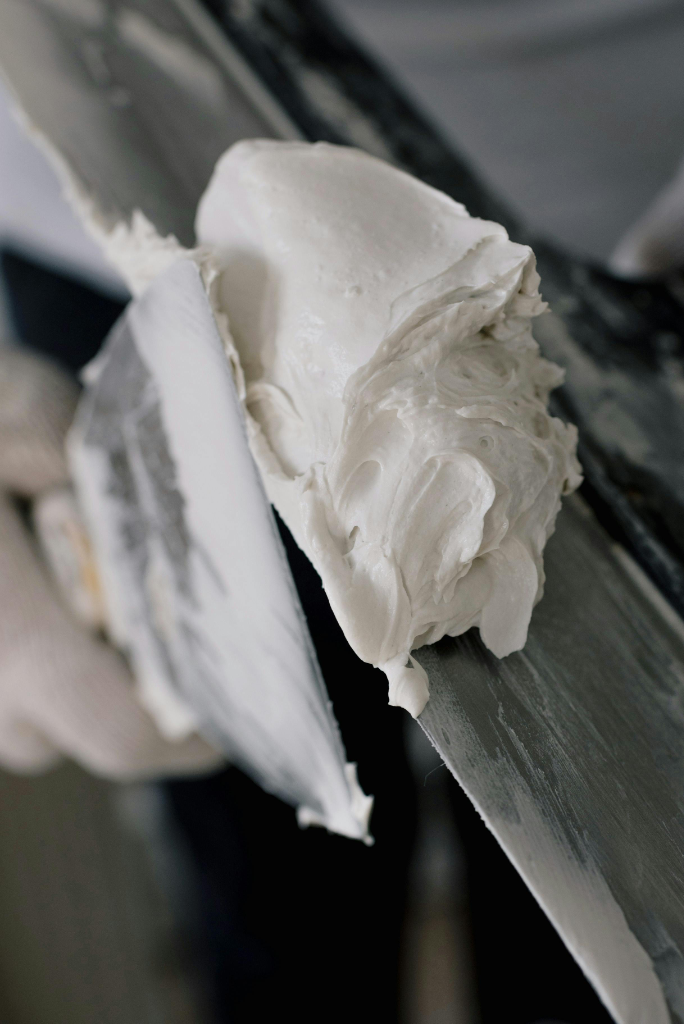
Next, apply joint compound to the edges of the patch and inside the hole using a drywall knife. Let the compound dry, then sand it smooth. For larger holes, use a drywall saw to create a clean, uniform shape for the patch. Cover the patch with paper tape before applying a layer of joint compound to dry.
After the compound has dried, sand it smooth and apply another layer if necessary. Once the repair area is smooth and even, prime and paint the surface to finish the job. By following these steps and using the right materials, you can effectively fix drywall damage and make your walls look as good as new.
Small Hole Repair
Small hole repair can be easily done using a drywall repair kit. Start by cutting the damaged drywall around the hole and tracing it onto the surface of the drywall. Cut a new patch from a scrap piece of drywall that is slightly bigger than the hole. Apply drywall compound around the edges of the hole and place the patch over the hole. Secure the patch using drywall screws and let it dry. Once the patch is dry, sand smooth the surface of the drywall to blend it in with the rest of the wall.
Another way to patch smaller holes is to locate the wall studs around the hole and cut the drywall to the size of the patch. Reattach the drywall to the stud using drywall screws and cover the seams with drywall compound. Let it dry and then sand smooth for a seamless repair.
Using Drywall Patches for Larger Holes
When trying to fix a hole in your drywall. To patch drywall, a simple patch kit with some joint compound may suffice. However, for larger holes in drywall, more than a few inches in diameter, you will need to repair with a new drywall patch. Drive a drywall screw into the center of the hole, then attach the patch to the wall stud on the inside. Make sure to apply joint compound across the patch and tape the seams to blend it in with the rest of the drywall surface. Let dry completely before sanding smooth. When fixing cracks in drywall, determine whether the hole is on the surface or the side of the hole. Apply the compound across the patch and let dry before sanding. Always wear a mask when sanding drywall to protect your lungs.
Applying the Drywall Patch
Now comes the fun part – applying the patching material. For small nail holes, simply fill the hole with spackle or joint compound using a putty knife. For larger cracks or holes, apply a thin layer of compound to the damaged area, making sure to press it firmly into place. If using drywall tape, apply a layer of compound over the tape to smooth out any wrinkles or air bubbles.
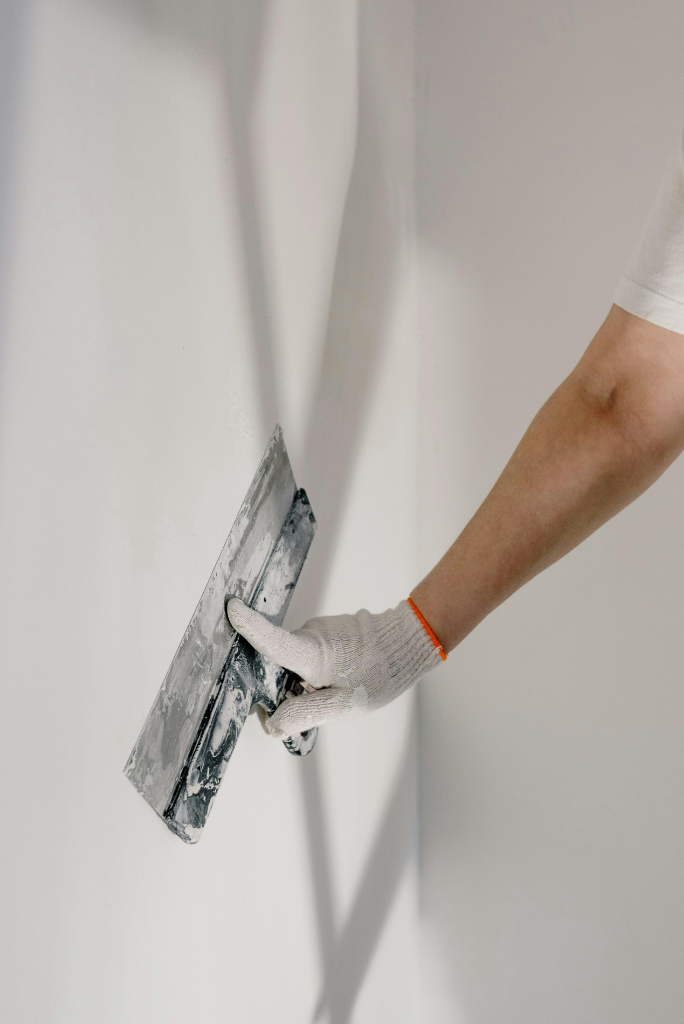
Sanding and Finishing
Once the patching material has dried completely, it’s time to sand the surface smooth. Use fine-grit sandpaper to gently sand away any rough edges or excess compound until the surface is flush with the surrounding wall. Wipe away any dust with a damp cloth, and voila – your sheetrock damage is as good as new!
Final Touches
To complete the repair process, consider applying a fresh coat of paint to the patched area to blend it seamlessly with the rest of the wall. Choose a paint color that matches the existing wall color, and apply it evenly using a paintbrush or roller. Allow the paint to dry completely before admiring your handiwork – you’ll be amazed at how easy it is to achieve professional-looking results with just a few simple steps.
Conclusion
At Aboveboard Home Services, we pride ourselves on providing high-quality home repair solutions at affordable prices. Whether you’re dealing with minor sheetrock damage or need more extensive repairs, we’re here to help. With our attention to detail, transparent pricing, and commitment to customer satisfaction, you can trust us to get the job done right the first time. Don’t let sheetrock damage detract from the beauty of your home – give us a call today to schedule your repair!
FAQ Frequently Asked Questions
What is the best way to fix small holes in drywall?
When dealing with holes in drywall, one of the most effective ways to fix them is by using spackling paste or joint compound. You can apply the paste over the hole, let it dry, sand it smooth, and then paint over the repaired area.
Can you provide some tips for attaching drywall onto the wall?
When attaching drywall to the wall, it’s important to secure it properly to the wall stud using drywall screws or nails. Make sure to space the fasteners evenly and avoid over-tightening them to prevent damaging the drywall.
What are the steps involved in wall repair?
Wall repair typically involves assessing the damage, preparing the area by removing any loose debris, applying the necessary patching material, sanding the surface, priming it, and finally painting it to match the rest of the wall.
How can I repair it when dealing with holes larger than a fist?
For holes larger than a fist, it’s recommended to cut out the damaged area, measure and cut a new piece of drywall to fit the hole, attach it securely, tape and mud the seams, sand the area smoothly, and paint it to blend with the surrounding wall.Q5: Is there a specific technique for drywall to the wall stud? Attaching drywall to the wall stud involves aligning the drywall with the studs, driving the screws or nails into the studs at the appropriate spacing, and ensuring that the drywall is flush against the wall for a seamless finish.